
DTF Printing Problems & Solutions: The Complete 2026 Troubleshooting Guide
Almost every DTF printing problem — smudged ink, dull colors, film that won't stick, prints that crack after a few washes — traces back to one of four root causes: the printhead, the ink, the film, or the heat press/curing settings. Once you know which of the four is at fault, the fix is usually a five-minute adjustment, not a new machine. This guide walks through the 14 most common DTF printing problems, what actually causes each one, and how to fix it — plus how to tell when it's a settings issue versus a hardware issue that needs a technician.
Quick answer: Most DTF printing problems (about 70% of support tickets we see) come from three things: a printhead that hasn't been cleaned or hasn't printed in several days, white ink that has settled and hardened in the ink lines, or a heat press that's running outside the 300–325 °F (150–165 °C) / 15–20 second window most DTF films require. Check these three first before assuming your printer is broken.
Quick Diagnostic Table
Match your symptom to the likely cause, then jump to the matching section below for the full fix.
| Symptom | Most Likely Cause | Fastest Fix |
|---|---|---|
| Faint lines / banding in print | Clogged printhead nozzles | Run 2–3 nozzle-clean cycles |
| Print looks dull or grey on white ink | Ink settled in white ink tubes | Shake & recirculate white ink |
| Ink smudged or blurry edges | Insufficient drying / dryer temp too low | Raise dryer temp, slow print speed |
| Colors shift between batches | ICC profile or RIP settings mismatch | Reload correct color profile |
| Film wrinkles while printing | Static or platen tension issue | Add anti-static bar / re-tension film |
| Design won't peel cleanly | Wrong peel type for the film (hot vs. cold) | Match peel method to film spec |
| Print cracks after a few washes | Under-cured adhesive powder | Increase cure time/temp, re-test stretch |
| Transfer peels off after one wash | Heat press temp/pressure/time too low | 325 °F, medium-firm pressure, 15s |
| White ink patchy on dark garments | Insufficient white ink layer or old film | Increase white ink density in RIP |
| Loud clicking / printhead strike | Film not flat, head height misaligned | Re-flatten film, check head-gap setting |
1. Printhead & Ink Problems
1.1 Clogged Printhead Nozzles (Banding, Missing Lines)
This is the single most common DTF printer complaint, and it's almost always preventable. Both color and white ink can dry inside the nozzle channels if the printer sits idle — even overnight in a dry, air-conditioned shop.
- Fix: Run a nozzle check, then 2–3 automatic cleaning cycles. If lines are still missing, soak the printhead with cleaning solution for 15–30 minutes before trying again.
- Prevent it: Print something — even a small test pattern — every 1–2 days. Printers that sit unused over a weekend are the most common source of clog complaints on Monday morning.
1.2 White Ink Settling & Hardening (Grey, Patchy Prints)
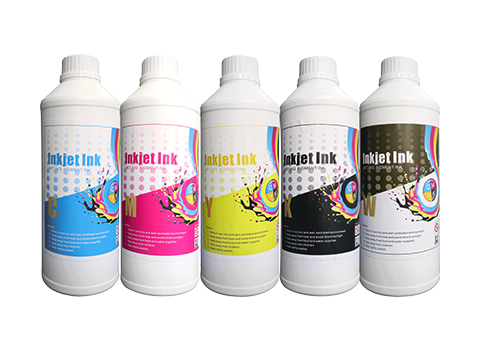
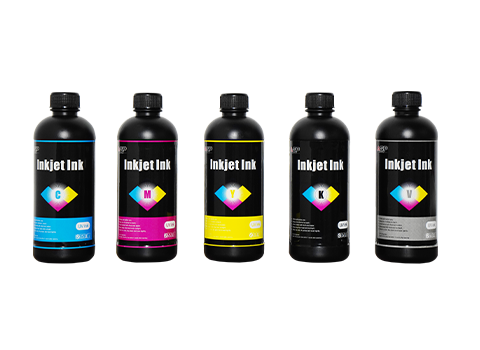
White DTF ink is loaded with titanium dioxide pigment, which is heavier than CMYK ink and settles to the bottom of the tank and ink lines if it isn't circulated. Once it hardens, it can permanently block the channel.
- Fix: Shake the white ink bottle thoroughly before every refill. Use the printer's built-in ink circulation/agitation function daily if it has one.
- Prevent it: Choose a printer with an automatic white ink stirring or circulation system — this is one of the biggest quality-of-life differences between entry-level and production-grade DTF printers, and it's worth checking for in our DTF printer buying guide.
1.3 Ink Smudging or Bleeding
Usually caused by the ink not being fully dry before the film is handled or wound onto the take-up roll.
- Fix: Increase dryer/curing temperature slightly, or reduce print speed so the ink has more time to set before the film moves.
- Prevent it: Keep your workspace close to 70–77 °F (21–25 °C) with moderate humidity — very humid air slows ink drying significantly.
2. Image & Color Quality Problems
2.1 Blurry or Soft Edges
Caused by low-resolution artwork, printhead misalignment, or print speed set too high for the detail level of the design.
- Fix: Use 300 DPI source files. Run a printhead alignment/calibration test. Slow the print speed for fine-detail designs.
2.2 Color Inconsistency Between Prints
Almost always a RIP software / color profile issue rather than a hardware fault.
- Fix: Confirm the correct ICC color profile is loaded for your ink batch and film type. Recalibrate color settings if you've recently changed ink brand or film supplier.
2.3 Banding (Visible Horizontal Lines)
A step up from simple clogging — this is usually a combination of light clogging and incorrect pass count in the RIP software.
- Fix: Clean the printhead first. If banding persists, increase the pass count (print quality mode) in your RIP software, which lays down more ink per line and hides minor nozzle dropout.
3. Film & Transfer Problems
3.1 Film Wrinkling During Printing
Usually static electricity or uneven tension on the film feed/take-up rollers.
- Fix: Install or check the anti-static bar. Re-tension the film rollers so the film feeds flat and evenly.
3.2 Printhead Strikes (Loud Clicking, Physical Contact With Film)
Happens when the film isn't sitting flat, or the head-gap height is set too low for the film thickness being used.
- Fix: Re-flatten and re-load the film. Check the head-height setting matches your film's actual thickness — thicker or curled film needs a slightly larger gap.
3.3 Poor Peel / Design Won't Release Cleanly
This is very often not a printer problem at all — it's a mismatch between the film type and the peel method being used.
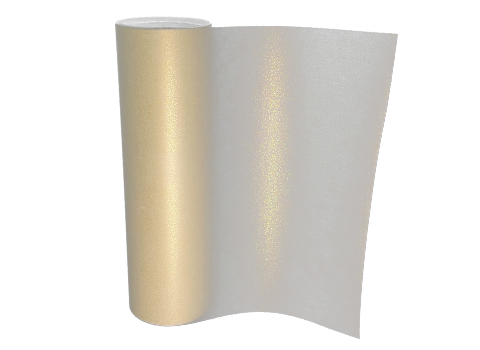
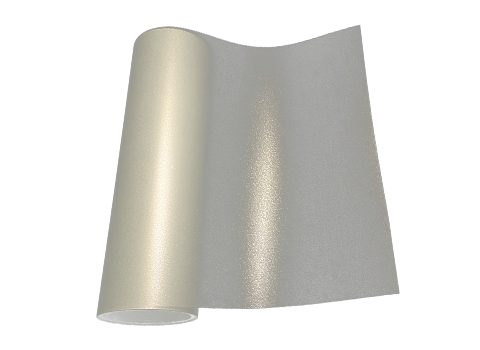
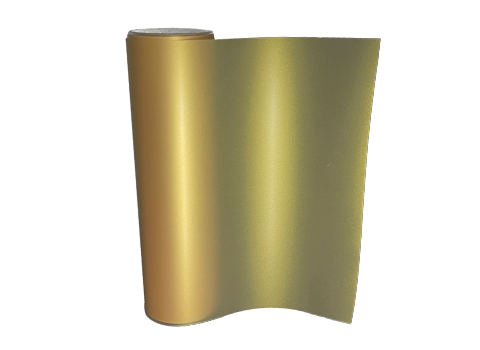
- Fix: Confirm whether your film is hot peel or cold peel and follow that method exactly — peeling a cold-peel film while it's still warm is the #1 cause of designs tearing or leaving residue. See our full breakdown in DTF Film Guide: Hot Peel vs Cold Peel.
3.4 Patchy White Ink on Dark Garments
- Fix: Increase white ink density/layers in the RIP software — dark, textured fabrics generally need a heavier white underbase than light fabrics.
- Prevent it: Store film in a cool, dry place away from sunlight; degraded film absorbs ink unevenly.
4. Curing & Heat Press Problems
4.1 Print Cracks or Fades After a Few Washes
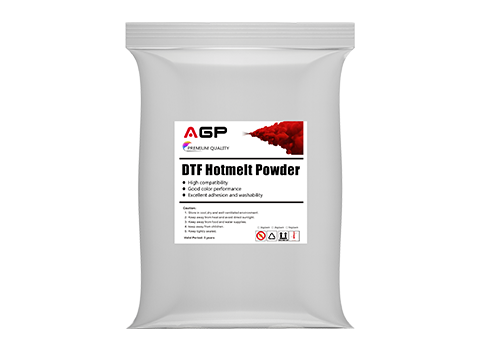
Almost always under-curing — the adhesive powder wasn't fully melted and bonded before the design was applied.
- Fix: Increase curing oven temperature or dwell time slightly, then do a stretch test on a scrap piece: fully cured powder should look glossy and stretch without cracking before you run a full batch.
4.2 Transfer Peels Off Fabric
Most commonly a heat press setting problem, not a film or ink problem.
- Fix: Target 300–325 °F (150–165 °C), medium-firm pressure, for 10–15 seconds — then check your specific film's spec sheet, since exact numbers vary by manufacturer. Pre-press the garment for 3–5 seconds first to remove moisture, which significantly improves adhesion.
4.3 Uneven Curing Across the Design
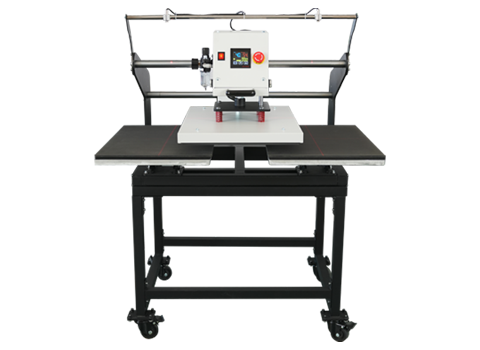
- Fix: Check for hot/cold spots on your heat press platen, or switch to a dedicated curing oven for more even, consistent heat distribution across large or multi-color designs.
When It's a Hardware Problem, Not a Settings Problem
Most of the issues above are fixed with cleaning cycles or setting adjustments. But if you've worked through the relevant fixes and the same problem keeps coming back, it may point to worn hardware rather than a consumables or software issue:
- Printhead reaching end of life — printheads are a wear part with a rated lifespan; frequent clogging that clean cycles no longer resolve is a common early sign. Our DTF Printhead Comparison: XP600 vs i1600-A1 vs i3200-A1 breaks down expected lifespan and cost per head so you know what to budget for.
- Faulty damper — persistent air bubbles in the ink line even after priming usually means a damper needs replacing.
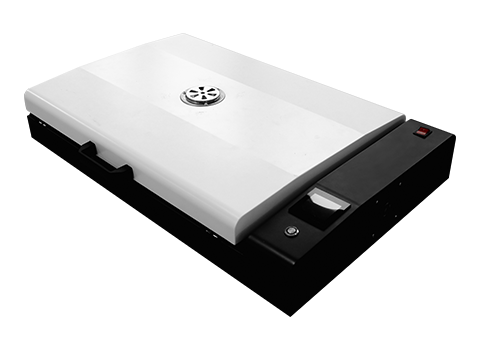
- Inconsistent heating element — if curing results vary across the same platen at the same settings, the heat press or oven's heating element may need servicing.
If you're an AGP customer and troubleshooting hasn't resolved the issue, our technical team can help you tell the difference between a supply issue and an equipment issue before you spend on parts you don't need — contact support here.
Build a Habit That Prevents Most of This
Nearly every problem in this guide is easier to prevent than to fix. If you print daily, keep your white ink circulating, and clean nozzles on a schedule rather than only when something goes wrong, you'll avoid the majority of these issues entirely. For a full daily/weekly/monthly routine, see our DTF Printer Maintenance Checklist.
Frequently Asked Questions
Why is my DTF printer not printing white ink?
White ink not printing is almost always caused by settled or hardened pigment blocking the nozzle channels, since titanium dioxide particles are heavier than CMYK ink and sink if not agitated regularly. Shake the ink bottle, run the circulation/agitation function, and clean the printhead with 2–3 cycles; if the channel is fully hardened, soak with cleaning solution for 15–30 minutes.
Why does my DTF print crack after washing?
Cracking after washing is typically caused by under-curing — the hot melt adhesive powder wasn't fully melted during the curing step, so the transfer never bonded properly to the fabric. Increase curing oven time or temperature and run a stretch test on a sample piece before curing a full batch.
What temperature should I set my heat press for DTF transfers?
Most DTF films transfer well at 300–325 °F (150–165 °C) with medium-firm pressure for 10–15 seconds, though exact numbers vary by film brand and should be checked against the specific film's spec sheet.
How often should I clean my DTF printhead?
Run a nozzle check before every print session, and a full cleaning cycle at least weekly even with daily use. Printers that sit idle for more than 2–3 days should always be cleaned before the next print run to prevent dried ink from hardening in the channels.
Why is my DTF print blurry?
Blurry prints are usually caused by low-resolution source files (below 300 DPI), a misaligned printhead, or print speed set too high for the level of detail in the design. Recalibrate the printhead and slow the print speed for fine-detail artwork.
Still stuck on a problem this guide didn't fix?
Talk to AGP's technical team — we manufacture the printers, so we can usually tell you in one message whether it's a settings fix or a parts issue.
Contact Support | Browse DTF Printers