
What Resolution Do You Need for DTF Printing? A DPI & File Prep Guide
Quick Answer: DTF printing needs artwork at 300 DPI at the final print size. Below 150 DPI, pixelation becomes visible on the garment. Files should be PNG with a transparent background (or vector formats like AI, EPS, SVG for logos and text) in RGB color mode — your RIP software handles the CMYK + white ink conversion.
What Does DPI Actually Mean for a DTF Print?
DPI (dots per inch) measures how much image detail exists in every inch of your printed design. The key thing to understand: DPI only matters at the size you're actually printing. A photo might show "300 DPI" in its file info, but if you take a small image and stretch it to fill a 12-inch chest print, the effective DPI at that size drops — and that's when edges start looking soft, gradients band, and text loses its crispness.
Screens display around 72–96 DPI, which is why a low-resolution image can look perfectly sharp on a monitor and still print blurry on fabric.
Recommended DPI by Design Type
| Design Type | Recommended DPI | Notes |
|---|---|---|
| Photos, gradients, portraits | 300 DPI | Needed to blend tones smoothly without visible banding |
| Logos, text, line art | 300 DPI | Sharp edges show pixelation fastest at low resolution |
| Simple flat-color designs | 240–300 DPI | Can tolerate slightly lower DPI than detailed art |
| Large back prints / banners | 150–200 DPI | Acceptable since these are viewed from further away |
| Any design below | Under 150 DPI | Pixelation and blur become visible on the garment |
How Many Pixels Do You Actually Need?
At 300 DPI, required pixel dimensions scale directly with your print size. Use this quick reference when checking whether a file will hold up:
| Print Size | Minimum Pixel Dimensions (at 300 DPI) |
|---|---|
| 4" x 4" | 1200 x 1200 px |
| 8" x 10" | 2400 x 3000 px |
| 11" x 14" (full front) | 3300 x 4200 px |
| 12" x 16" (full back) | 3600 x 4800 px |
If the source file is smaller than the target size requires, don't just resize it up — see why below.
Why Upscaling a Low-Resolution File Doesn't Fix It
Increasing a file's resolution setting after the fact — through Photoshop, Canva, or an AI upscaler — doesn't add real detail. The software invents new pixels based on the surrounding data rather than recovering information that was never captured. The result can look acceptable on screen but still shows soft, slightly waxy edges once pressed onto fabric. The only reliable fix is sourcing a higher-resolution original or rebuilding the design as vector artwork.
What File Format and Color Mode Should You Use?
- Format: PNG with a transparent background is the standard for DTF — it's lossless and preserves transparency cleanly. Avoid JPEG, since compression introduces artifacts along edges and it can't store transparency at all.
- Vector files: For logos and text, AI, EPS, or SVG files scale to any size without quality loss — the safest option when the design will be resized for different products.
- Color mode: Build and send artwork in RGB. Your DTF printer's RIP software converts RGB into the CMYK + white ink channels it actually needs, and generally produces better color from an RGB source than from a file you've pre-converted yourself. Our DTF RIP Software Comparison guide covers how different RIP programs handle this conversion.
Common File Prep Mistakes to Avoid
- Downloading images from websites — these are almost always 72 DPI and far too small for print use, even if they look fine in a browser.
- Resizing the canvas after placing artwork — always set your document to the final print size and 300 DPI before you start designing, not after.
- Leaving a white or colored background — DTF needs a fully transparent background; a background that isn't cleanly removed will print as a visible box around the design.
- Mixing low-res elements into a gang sheet — every design on a sheet needs to hit 300 DPI at its own printed size; one soft element ruins its own spot even if everything else on the sheet is clean. See our DTF Gang Sheet Layout Guide for full sheet-prep best practices.
Frequently Asked Questions
What DPI is too low for DTF printing?
Below 150 DPI at the final print size, pixelation and blurred edges become visible on the finished garment. 150–200 DPI can pass for large prints viewed from a distance, but 300 DPI is the standard for anything with fine detail, text, or gradients.
Can I convert a 72 DPI image to 300 DPI?
Changing the DPI setting on a low-resolution file doesn't add real detail — it just spreads the same limited pixel data over more dots. The image will still look soft once printed. You need a genuinely higher-resolution source file or a vector version of the artwork instead.
Should I send files in CMYK or RGB?
RGB. Your DTF printer's RIP software is built to convert RGB source files into the CMYK + white ink channels the printer actually uses, and typically produces more accurate color than a file you've manually converted to CMYK beforehand.
Why does my design look sharp on screen but blurry when printed?
Screens display at roughly 72–96 DPI, so a low-resolution file can look crisp on a monitor while falling well short of the 300 DPI needed for print. Always check the pixel dimensions against your intended print size rather than judging sharpness on screen.
Getting consistent results starts with the right printer and RIP setup.
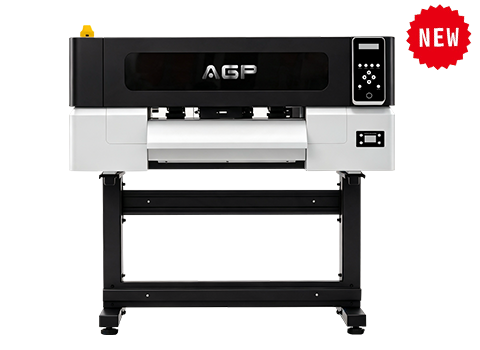
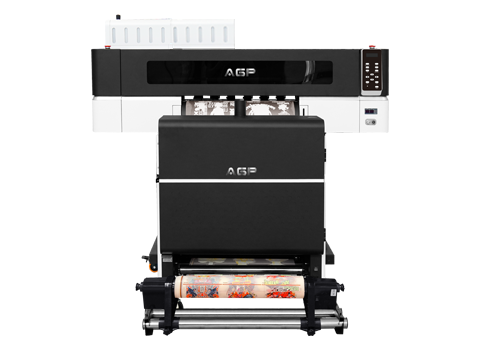
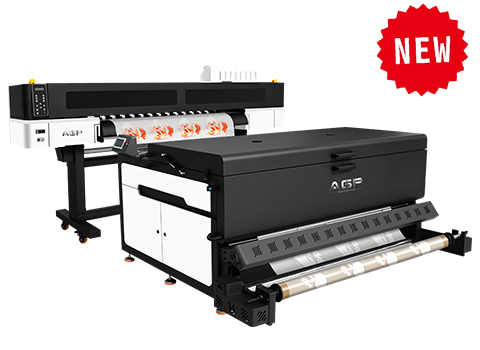
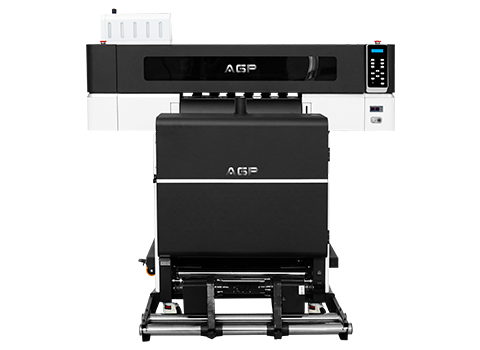
See how AGP's DTF printers and RIP-ready workflows handle high-resolution artwork.