
How to Build a DTF Gang Sheet: Sizing, Layout & Nesting Guide (2026)
Quick answer: A DTF gang sheet is a single sheet of transfer film packed with multiple designs so you print, cure, and press more transfers per run instead of printing each design separately. Set your canvas width to match your printer's actual print width (not the 22" you see quoted by print-on-demand services), design at 300 DPI in transparent PNG or vector format, leave 0.25"–0.5" spacing between designs, and group similar-sized artwork on the same sheet to avoid wasted film.
If you've been ordering one transfer at a time — or sending files out to a gang sheet service — you're leaving money on the table. Gang sheets are the single biggest lever for lowering your cost per transfer, because film, ink, and curing time are the real costs in DTF production, and a well-packed sheet spreads those costs across more prints. This guide walks through exactly how to size, lay out, and nest a gang sheet — including how to do it around your own printer's width instead of the fixed formats most tutorials assume.
What Is a DTF Gang Sheet?
A gang sheet is a layout that combines multiple designs — different sizes, different customers, different products — onto one continuous piece of DTF film. Instead of printing a 4" logo on its own sheet and wasting the rest of the film, you nest that logo next to a dozen others and print them all in a single pass.
Most tutorials online assume you're ordering from a print-on-demand gang sheet service, which locks you into a fixed 22-inch width because that's the roll width their equipment uses. If you own your printer, that constraint disappears — your gang sheet width is simply your printer's print width, whether that's 12", 24", or 63".
Step 1: Match Your Gang Sheet Width to Your Printer
Before opening any design software, confirm your printer's actual print width. This single decision determines how many designs fit per row and how you should plan your layout.
| Printer Width | Typical Use Case | Good For |
|---|---|---|
| ~300mm (12") | Entry-level / desktop DTF printers | Single logos, small-batch custom orders, testing layouts before scaling up |
| ~600mm (24") | Mid-volume shop printers | Mixed gang sheets — chest logos, sleeve prints, and full-front designs on one run |
| ~1600mm (63") | Industrial roll-to-roll printers with auto feed/take-up | High-volume production runs, wholesale transfer printing, continuous roll workflows |
Trying to force a 22"-style layout onto a 12" desktop printer wastes time; trying to think in single-design batches on a 63" roll-fed printer wastes capacity. Design for the machine you actually have.
Step 2: Set Up Your Canvas Correctly
- Resolution: 300 DPI at final print size — never scale up a low-res file to fit a slot
- File format: Transparent PNG or vector (AI/EPS) — flattened JPGs with white backgrounds print a white box around your design
- Color mode: CMYK, not RGB — RGB files shift color unpredictably once printed
- Canvas width: Match your printer's exact print width; set the height based on how many rows of designs you're nesting
Step 3: Group Designs by Size First
This is the step most beginners skip, and it's the one that determines whether your gang sheet actually saves film or just moves the waste around.
- Sleeve/tag prints: roughly 2"–3" wide
- Left chest logos: roughly 3"–4" wide
- Full front/back designs: roughly 10"–14" wide
Mixing a 12" back print next to a 2" sleeve logo on the same row leaves a large dead-space gap around the small design. Run same-size designs together in rows, then fill true leftover space with smaller filler designs at the end — not the other way around.
Step 4: Nest with Proper Spacing
- Leave 0.25"–0.5" between individual designs so the powder shaker and cutting process don't bleed one design into another
- Leave 0.5"–1" border around the outer edge of the sheet
- Use your RIP software's alignment/snap tools rather than eyeballing placement — inconsistent gaps waste more film across a full sheet than they look like on screen
Step 5: Sequence for Curing and Cutting, Not Just Layout
At higher volumes, how you order designs on the sheet matters as much as how you pack them. Group designs that will be cut and pressed together physically near each other, and keep similar ink-density designs (heavy white underbase vs. light color-only prints) grouped so your powder curing settings don't need mid-run adjustment.
Common Gang Sheet Mistakes
| Mistake | Why It Hurts |
|---|---|
| Designing at the wrong DPI | Pixelated edges, soft detail, especially on small text and logos |
| Using RGB instead of CMYK | Colors shift unexpectedly between screen and printed film |
| No spacing between designs | Powder bridges between designs, causing peeling or bleed at the edges |
| Mixing wildly different sizes on one row | Dead space that could have held another small design |
| Ignoring your printer's real print width | Either wasted margin (undersized layout) or clipped designs (oversized layout) |
Owning Your Printer Changes the Gang Sheet Math
When you outsource gang sheets to a print-on-demand service, you're bound by their fixed width, their minimum order quantities, and their turnaround time. When you print in-house, none of those constraints apply — you can run a 12" test sheet for a single customer sample or a 63" production roll for a wholesale order, on the same workflow, with zero minimums and same-day turnaround.
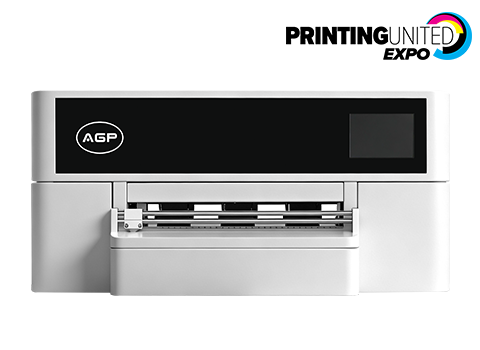
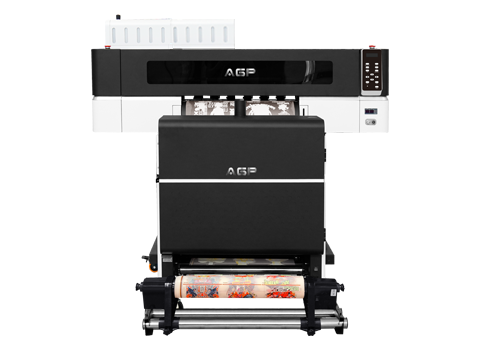
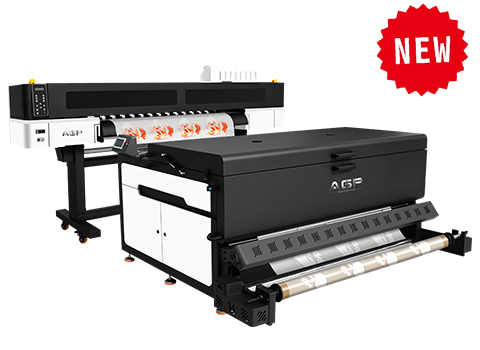
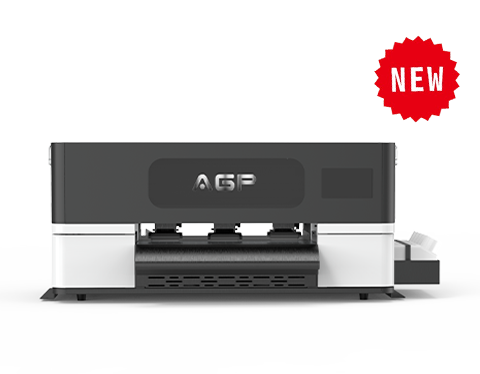
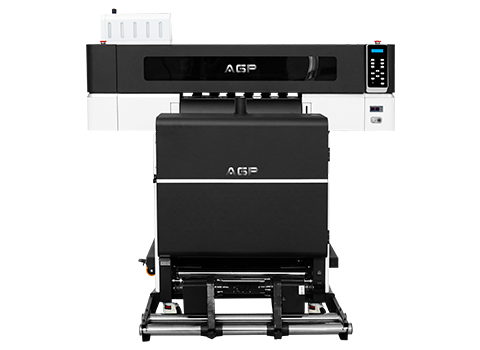
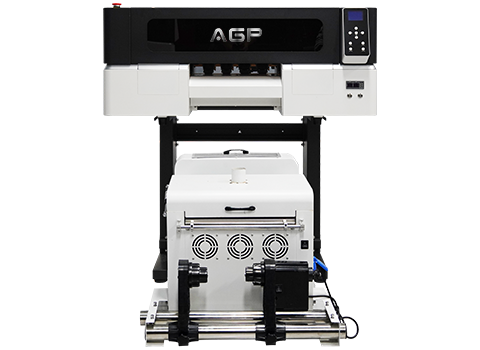
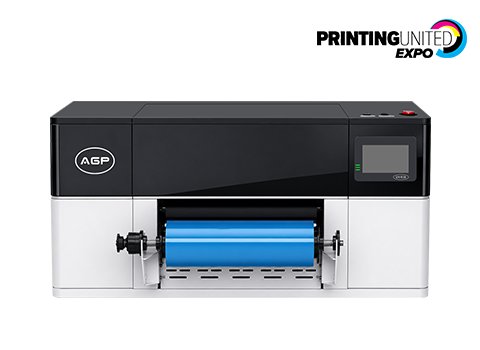
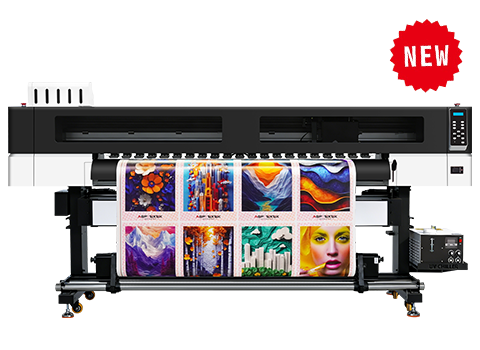
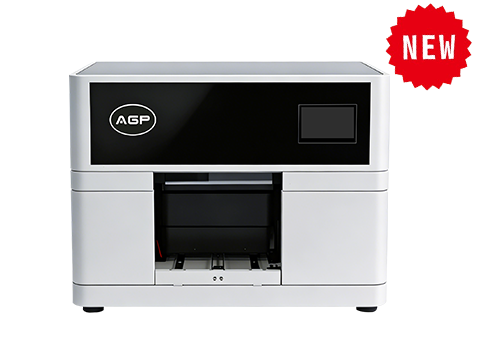
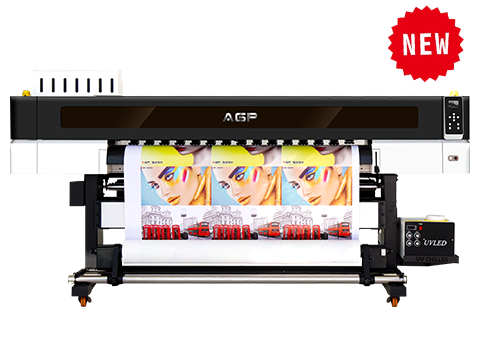
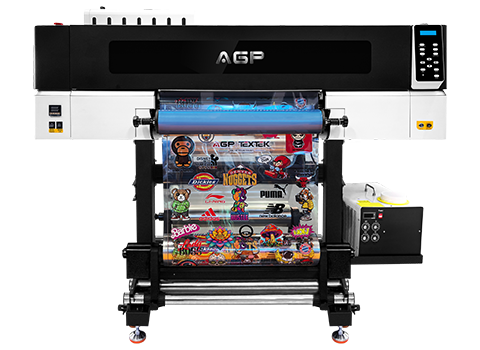
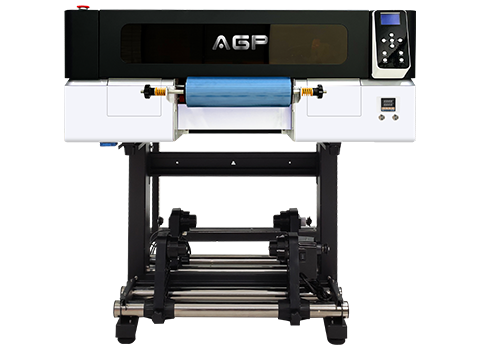
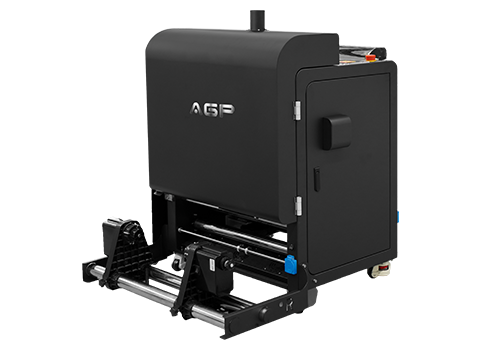
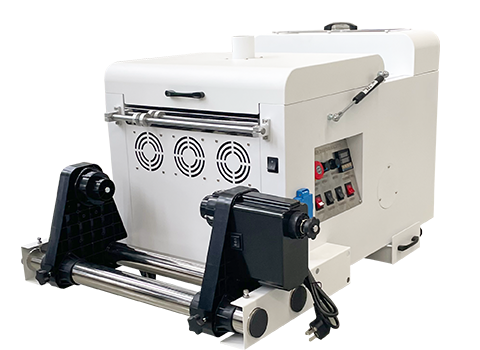
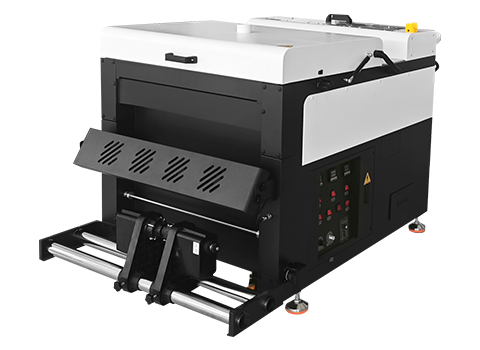
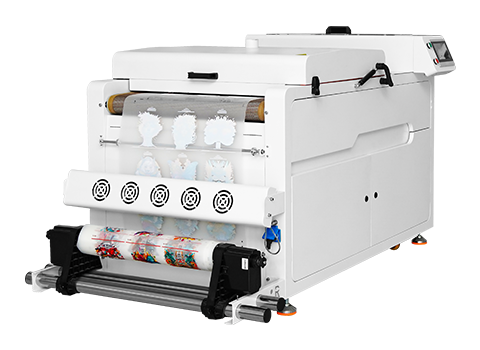
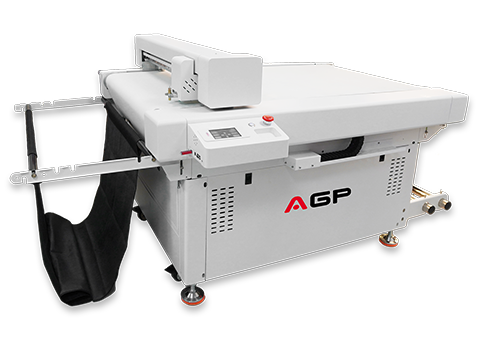
AGP's DTF printer lineup covers this exact range: the DTF-T30 and DTF-E30/E30T at 300mm for small-batch and sample work, the DTF-T652/653/654 and DTF-T656 at 600mm for daily shop production, and the DTF-TK1600 at 1600mm with auto-feeding and take-up for continuous industrial roll production. All models run genuine Epson printheads with auto ink supply and white ink circulation, so the ink side of your gang sheet workflow stays consistent as you scale up in width. Compare the full lineup on our DTF printer page.
Frequently Asked Questions
What size should my DTF gang sheet be?
It depends on your printer's print width, not a fixed industry standard. Desktop printers (~300mm/12") suit single or small-batch layouts; shop printers (~600mm/24") suit mixed daily production; industrial roll printers (~1600mm/63") suit continuous wholesale runs.
What DPI should I use for a DTF gang sheet?
300 DPI at final print size. Anything lower risks visible pixelation, especially on small text and fine logo details.
How much spacing should I leave between designs on a gang sheet?
0.25" to 0.5" between individual designs, and 0.5" to 1" around the outer edge of the sheet, to prevent powder bridging and allow clean cutting.
Can I mix different design sizes on one gang sheet?
Yes, but group similarly sized designs together first to minimize dead space, then use genuinely leftover space for smaller filler designs — don't scatter large and small designs randomly across the sheet.
Do I need special software to build a gang sheet?
No. Photoshop, Illustrator, CorelDRAW, and free tools like Canva or GIMP all work, as long as they support a custom canvas size, transparency, and CMYK color mode. Most DTF RIP software also includes basic layout/nesting tools.
Ready to stop outsourcing your gang sheets? See AGP's full DTF printer range or get a factory-direct quote for the width that fits your production volume.