
How to Use a DTF Printer for Fabric Printing: A Practical Step-by-Step Guide
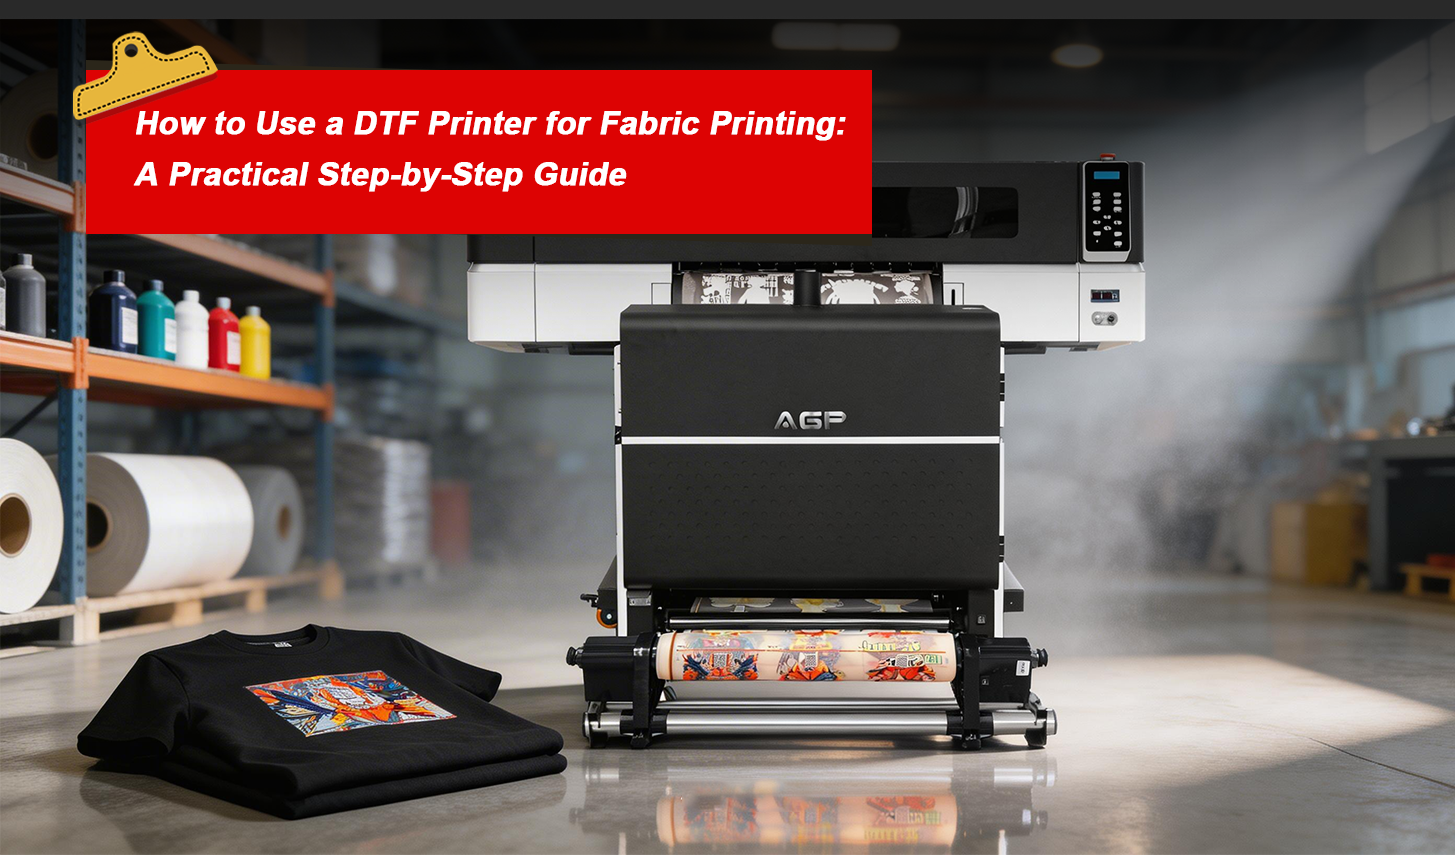
Quick Summary: Using a DTF printer involves a 6-step workflow: 1. Artwork Preparation (300 DPI, transparent PNG, mirrored), 2. Printing (CMYK + White underbase on PET film), 3. Powdering (applying hot-melt adhesive powder to wet ink), 4. Curing (melting powder at 110–130°C), 5. Pre-Pressing & Heat Pressing (transferring at 140–160°C for 10–15 seconds), and 6. Peeling & Finishing Press (peeling cold/hot and a 5s post-press for durability). This guide details exact settings to eliminate transfer errors.
Direct-to-Film (DTF) printing has revolutionized garment customization because it works seamlessly on cotton, polyester, nylon, and dark fabrics without requiring pre-treatment. However, mastering DTF printing requires strict control over ink density, curing temperatures, and heat press timing. Below is your complete practical step-by-step operator guide.
What Equipment and Materials Are Required Before Starting DTF Printing?
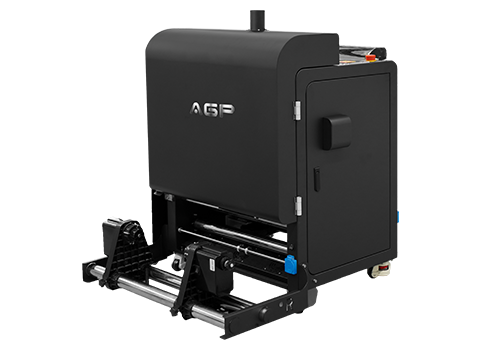
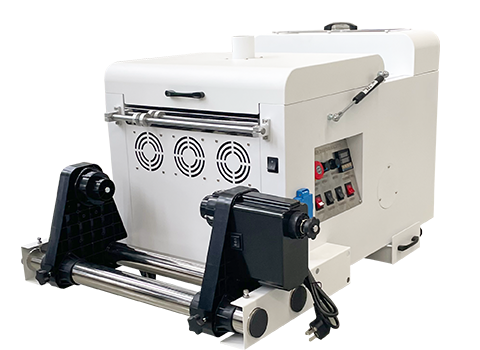
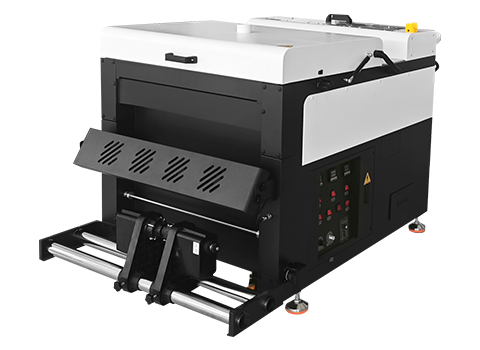
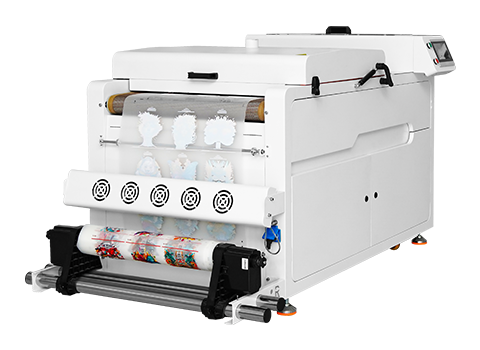
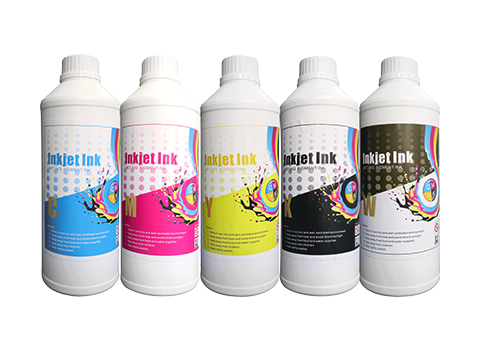
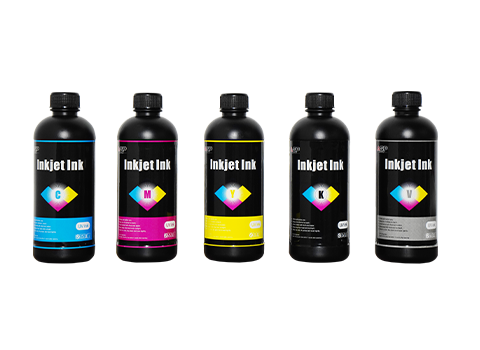
Conclusion: Successful DTF production requires a dual-channel printer (CMYK+White), dedicated DTF pigment ink, PET transfer film, TPU hot-melt adhesive powder, RIP software, and a heat press.
Before executing your first print run, confirm that your equipment and consumables meet professional transfer standards:
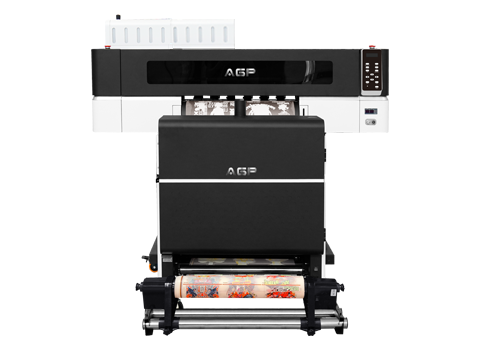
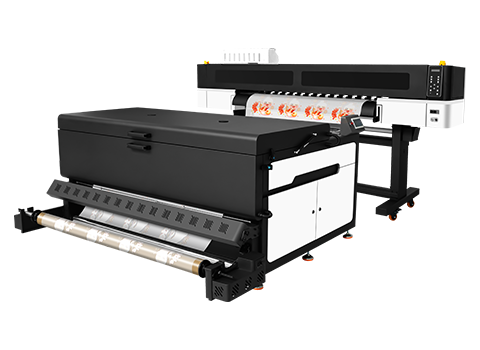
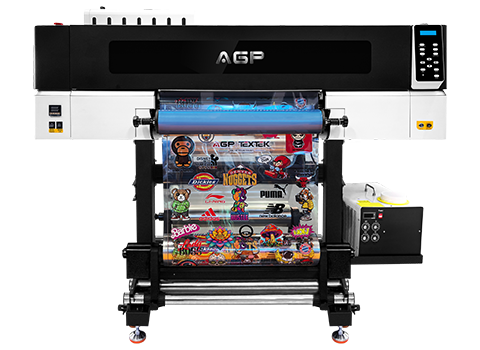
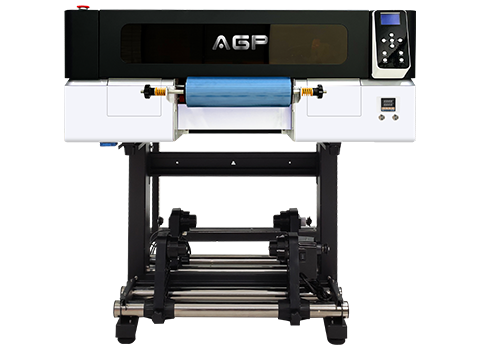
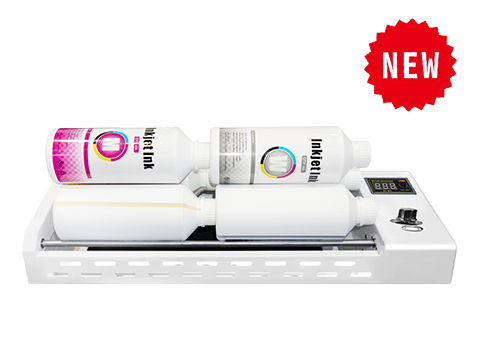
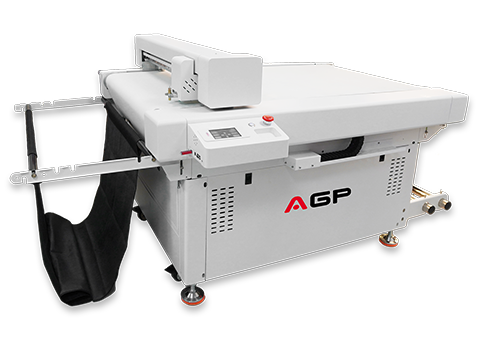
- DTF Printer with White Ink Circulation: Must feature white ink agitation to prevent titanium dioxide settling and head clogging.
- Coated PET Film: Available in matte or glossy, engineered with a release layer for hot or cold peeling.
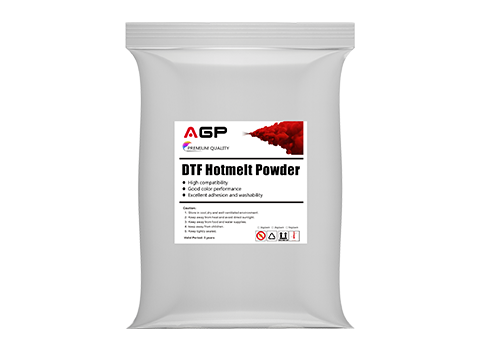
- TPU Adhesive Powder: Medium-grain powder provides optimal stretchability and wash resistance.
- RIP Software: Manages color profiles (ICC), white underbase choker settings, and ink limits.
How Do You Execute the 6-Step DTF Printing Workflow Correctly?
Conclusion: Precision timing and temperature control across artwork prep, printing, powder curing, and heat pressing guarantee bright, wash-durable fabric transfers.
Step 1: File Preparation in RIP Software
Create graphics at 300 DPI with a transparent background. Export as a PNG-24 or TIFF. Import into your RIP software, set white ink underbase percentage (typically 80–100%), apply a 1–2 pixel white choke to prevent white halos, and mirror the design horizontally before printing.
Step 2: Printing CMYK + White Layers onto PET Film
Load PET film with the matte/coated side facing the printhead. The printer lays down the CMYK color layer first, followed immediately by a solid white ink base layer over top. Conduct a daily nozzle check to ensure clear white channels.
Step 3: Applying Hot Melt Adhesive Powder
While the printed ink is still wet, apply DTF powder evenly over the entire image. Gently tap or shake the film to remove excess powder from unprinted transparent zones. Static or over-saturated ink can cause powder to stick to blank film.
Step 4: Curing the Powder Adhesive
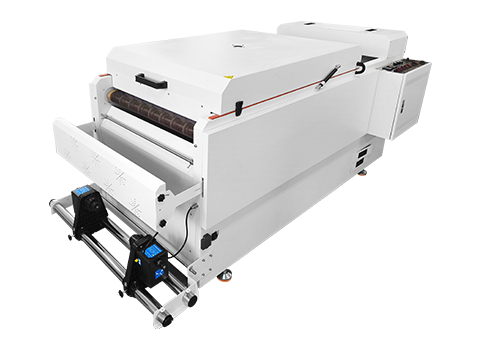
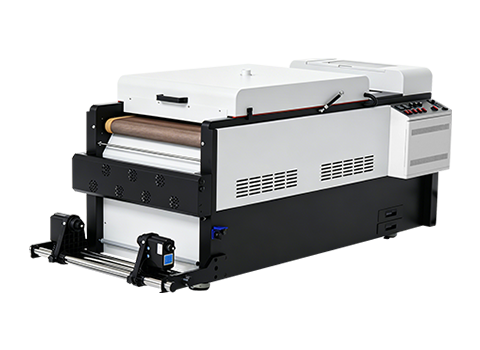
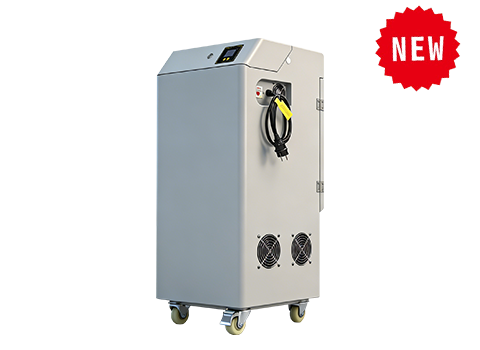
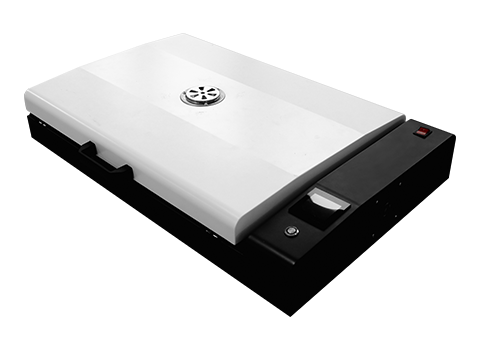
Melt the powder using an inline shaker dryer, curing oven, or hovering heat press (1–2 cm above film). Cure at 110–130°C (230–266°F) for 2–3 minutes until the powder melts into an even, glossy, orange-peel texture.
Step 5: Garment Pre-Press & Transfer Application
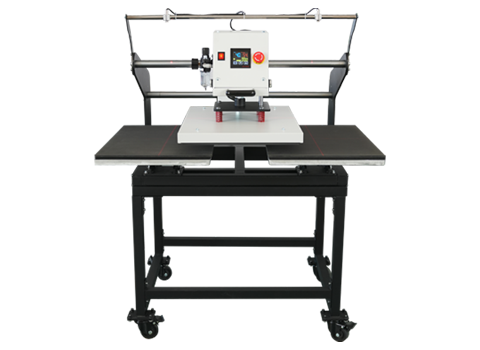
Pre-press blank fabric for 3–5 seconds to eliminate moisture and wrinkles. Place the cured transfer film face-down on the garment, and heat press according to fabric specifications (e.g., 150°C / 302°F for 12–15 seconds at medium-high pressure).
Step 6: Film Peeling & Final Touch Press
Peel the PET film according to manufacturer spec (cold peel: wait until completely room temperature; hot peel: peel within 2–3 seconds). Perform a second 5-second press with parchment paper to improve wash longevity and soft hand-feel.
DTF Print Operator Quick Checklist
✔
Mirror Image Enabled: Design mirrored in RIP software before sending to print.
✔
Garment Pre-Pressed: Fabric pre-heated for 5s to eliminate moisture before transferring.
✔
Secondary Press Completed: 5-second post-press executed with parchment paper to seal edges.
DTF Heat Pressing Parameter Matrix Across Fabrics
Conclusion: Adjusting heat press temperature, dwell time, and peeling technique based on fabric composition prevents fabric scorching and guarantees maximum wash adhesion.
| Fabric Type / Substrate | Pressing Temp (°C / °F) | Pressing Time | Pressure Setting | Peel Method & Post-Press |
|---|---|---|---|---|
| 100% Cotton / Heavyweight Tees | 150°C – 160°C / 300°F – 320°F | 12 – 15 seconds | Medium to High (4–5 bar) | Cold Peel / 5s Post-Press |
| 100% Polyester / Sport Jerseys | 135°C – 140°C / 275°F – 285°F | 10 – 12 seconds | Medium (3 bar) | Cool Peel / Anti-bleed powder required |
| Cotton/Poly Blends & Hoodies | 145°C – 150°C / 290°F – 300°F | 12 – 15 seconds | Medium-High (4 bar) | Cold / Warm Peel / 5s Post-Press |
| Denim / Canvas Bags / Caps | 155°C – 165°C / 310°F – 330°F | 15 – 20 seconds | Heavy (5+ bar) | Cold Peel / 8s Post-Press |
Conclusion: Master DTF Workflow to Deliver Professional Fabric Prints
DTF fabric printing delivers unrivaled versatility across garment colors and fabric types. By maintaining standard pre-press file setup, enforcing proper adhesive curing, and following precise heat press temperature matrix settings, you can eliminate transfer defects and achieve durable, soft-hand results. AGP provides complete DTF printing equipment solutions—including high-speed DTF printers, PET transfer films, premium pigment inks, and automatic powder shaker machines. Contact our technical team today to optimize your apparel production shop.
FAQ: DTF Fabric Printing Questions
1. Why is my DTF transfer peeling off after washing?
Peeling occurs due to under-cured adhesive powder, insufficient heat press pressure, or skipping the garment pre-press step. Ensure the powder melts completely into an orange-peel texture at 120–130°C and always pre-press shirts to remove moisture before transfer.
2. Do I need to pretreat garments for DTF printing like DTG?
No. DTF printing requires zero liquid fabric pre-treatment. The hot-melt TPU powder applied to the wet ink on the film acts as the bonding agent, eliminating pre-treatment machines and drying steps.
3. What is the difference between Hot Peel and Cold Peel DTF film?
Hot peel films allow operators to peel the PET sheet within 2–3 seconds of pressing, maximizing production speed. Cold peel films require waiting 30–60 seconds for the transfer to reach room temperature, providing a slightly more matte finish and higher forgiveness for beginners.
4. How do I prevent white ink from showing around design edges?
Apply a 1 to 2-pixel "Choke" setting in your RIP software. This slightly shrinks the white underbase layer relative to the CMYK color layer, preventing white outlines (halos) from leaking past dark graphic borders.