


DTF Powder Shaker Not Working? 7 Common Problems & How to Fix Them
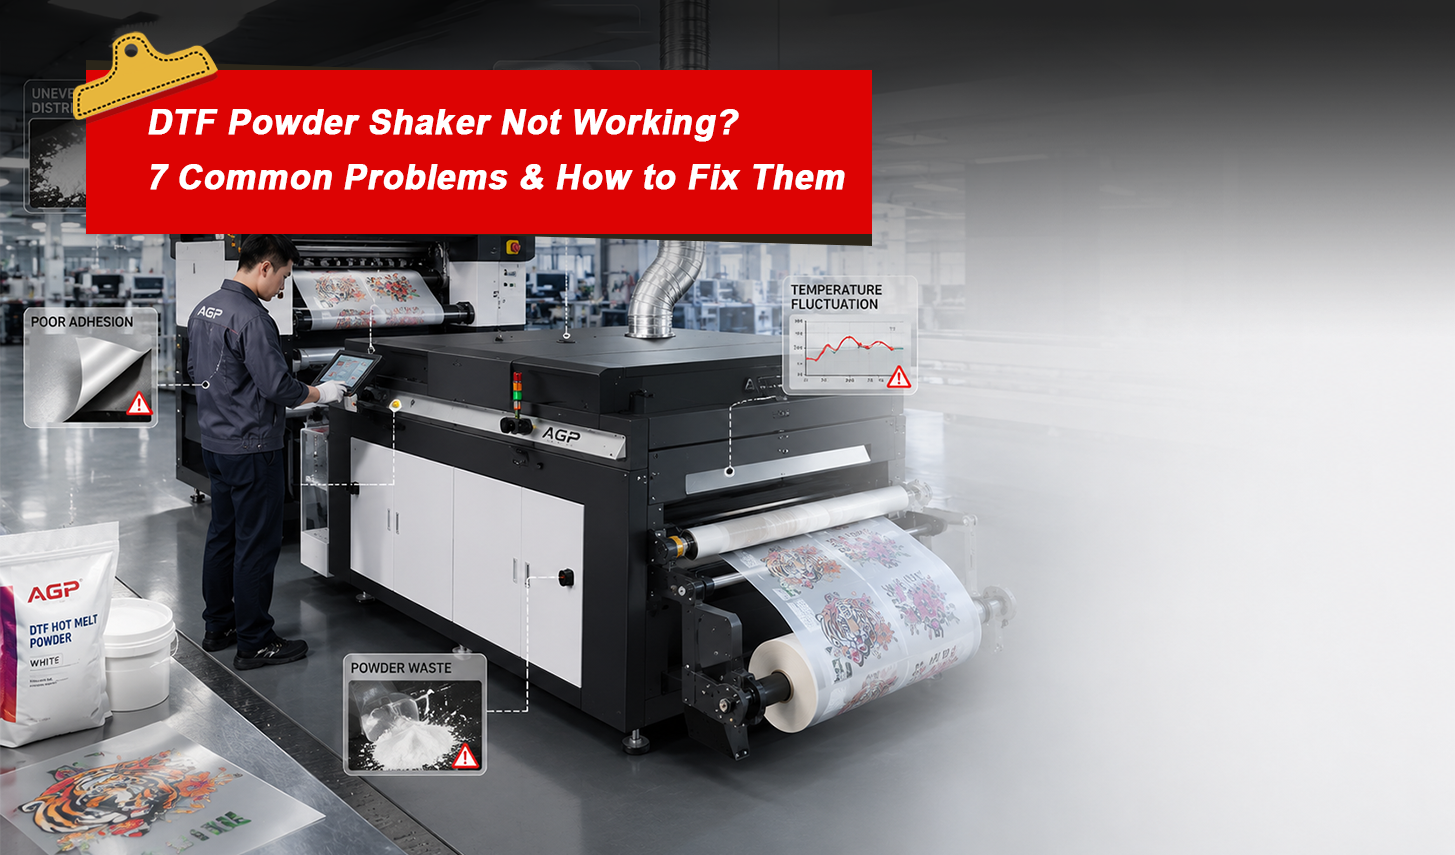
Your DTF printer is running great — clean prints, vibrant colors, crisp whites. But somewhere between the printer output and the heat-press table, something goes wrong. The transfer peels at the edges. The powder looks uneven under the film. The adhesion fails after the first wash.
In most cases, the culprit isn't your printer or your ink. It's the powder shaker.
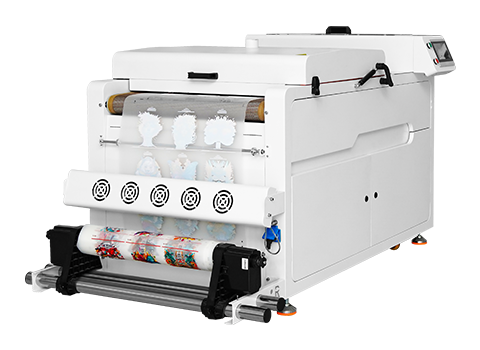
The powder shaker is arguably the most critical — and most underestimated — machine in a DTF production line. It controls three things: how evenly adhesive powder is applied, how completely it's cured, and how cleanly excess powder is removed. Get any one of those wrong, and your finished transfers suffer.
Here are the 7 most common DTF powder shaker problems, what causes them, and how to fix them.
Problem 1: Uneven Powder Distribution — Patchy or Bare Spots on the Transfer
What it looks like: Some areas of the print have too much powder (clumping, rough texture after curing), while others have too little (bare ink, no adhesion in spots). Under a light you can see the transfer surface is inconsistent.
Why it happens:
- Vibration settings are too weak or too fast — powder isn't distributed evenly across the film
- Powder hopper is low and the dispensing rate is inconsistent
- Film feeding speed doesn't match the shaking mechanism's rhythm
- Powder type doesn't match the machine's designed flow rate (fine powder vs. coarse)
How to fix it:
- Check your vibration frequency and amplitude settings. For most mid-range shakers (H650 series), the sweet spot is a medium-frequency vibration — enough to move powder but not so aggressive it throws it off the film.
- Ensure the powder hopper is at least 30% full. Very low powder levels cause inconsistent dispensing.
- Match your film feed speed to your shaker speed. If you're running the printer at high speed and the shaker at slow, film will bunch or stretch.
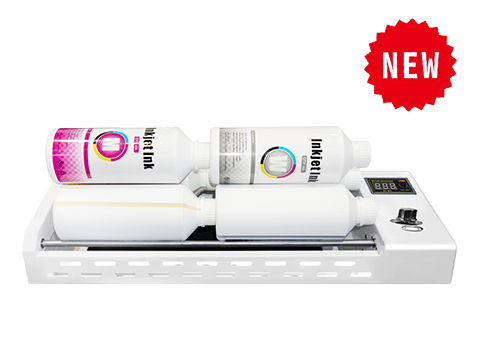
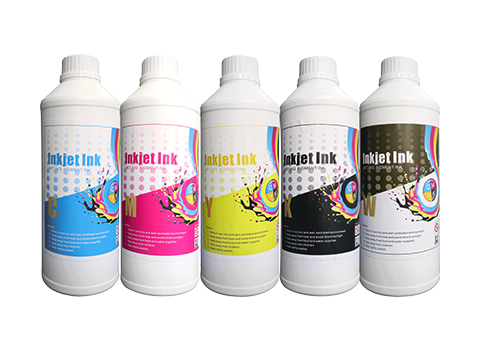
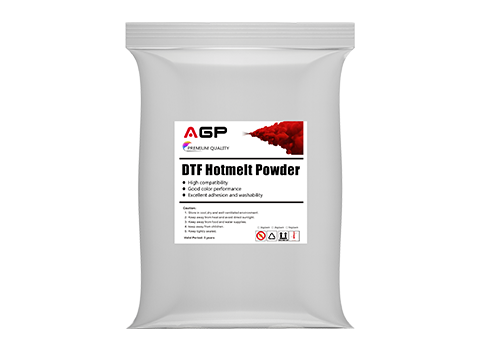
- Confirm your powder specification. AGP DTF hot-melt powder comes in fine and medium grades — use fine powder for detailed designs, medium for large fills and sportswear applications.
Problem 2: Poor Adhesion After Heat Pressing — Transfer Peels or Cracks
What it looks like: The transfer looks good on the film, but once heat-pressed and the film peeled, parts of the design lift, crack at the edges, or peel off after the first wash.
Why it happens:
- Under-curing in the shaker's heating zone — the hot-melt powder wasn't fully melted and bonded to the ink
- Incorrect curing temperature in the oven/dryer section
- Film moved too quickly through the heating zone (not enough dwell time)
- Powder layer was too thin (see Problem 1) — not enough adhesive to bond to fabric
How to fix it:
- Increase curing temperature. Standard curing for DTF hot-melt powder is 120–130°C in the shaker's heating zone. If you're running cooler than that, the powder won't fully melt.
- Reduce film travel speed through the heating zone. Slower speed = more heat exposure = better cure.
- On machines with 3-zone heating (front/middle/rear), ensure all three zones are reaching target temperature before starting production. Cold zones at startup are a common cause of adhesion failures.
- Check that your powder layer is adequate (solve Problem 1 first, then retest adhesion).
Note: Adhesion problems can also be caused by incorrect heat press settings (too low temperature, too short press time, or insufficient pressure). Always test at 160°C / 15 seconds / medium pressure as a starting point.
Problem 3: Powder Residue on Clear Areas of the Film — Dirty Background
What it looks like: After shaking, the non-printed areas of the film have a visible powder haze or residue. When transferred, this creates a cloudy or dirty background, especially noticeable on light-colored fabric.
Why it happens:
- Excess powder is not being fully removed by the shaker's cleaning/brushing mechanism
- Anti-static system is not functioning correctly (static charge is making powder cling to film)
- Air blowing system (if equipped) is insufficient or misaligned
- Wrong powder being used — some powders have poor flow characteristics
How to fix it:
- Check the brush roller in the shaker. Brushes wear down over time and lose their ability to sweep excess powder off the film. Replace worn brushes.
- Check the anti-static bar or ionizer. Most quality shakers include an anti-static system that neutralizes charge on the film surface. If it's malfunctioning, powder will stick where it shouldn't.
- Adjust the air blowing nozzles to ensure they're aimed at the film surface at the correct angle.
- Ensure you're using the correct powder grade. Very fine powder can be harder to remove cleanly — medium grade may give cleaner results on simpler designs.
Problem 4: Film Jamming or Misfeeding Through the Shaker
What it looks like: The film gets stuck, wrinkles, folds, or feeds at an angle through the shaker. Production stops and the jammed section is ruined.
Why it happens:
- Film tension is incorrectly set — too loose causes slack and bunching
- Feed rollers are dirty or worn, causing inconsistent grip
- Film roll is loaded off-center
- Film width doesn't match the machine's guide settings
How to fix it:
- Re-thread the film from scratch, ensuring it's centered on the feed rollers with even tension.
- Clean the feed rollers with a lint-free cloth and isopropyl alcohol. Ink residue and powder buildup on rollers is the most common cause of feed jams.
- Adjust the film guide rails to match your film width exactly. Loose guides allow the film to wander and fold.
- Check roller pressure settings. Too much pressure can pinch and wrinkle the film; too little can cause slippage.
Problem 5: Inconsistent Curing — Some Sections Fully Cured, Others Soft
What it looks like: When you test a transfer by gently rubbing the back of the film, some sections feel solidly bonded while others feel soft, tacky, or loose. Inconsistent curing leads to inconsistent adhesion.
Why it happens:
- Temperature variation across the heating zone width — edges are cooler than the center
- Heating elements are partially failing or need recalibration
- Film is moving at uneven speed (motor or belt issue)
- Machine hasn't warmed up sufficiently before production started
How to fix it:
- Always warm up your shaker for at least 10–15 minutes before running production film. The heating elements need time to reach and stabilize at target temperature.
- Use a thermal gun to check temperature consistency across the width of the heating zone. If edges are significantly cooler than center, the heating element may be failing.
- Check the drive belt and feed motor for wear. Inconsistent film speed creates uneven heat exposure.
- For multi-zone machines (front/middle/rear), verify each zone independently. A single faulty zone can ruin an entire production run.
Problem 6: White Ink Spreading or Bleeding on the Film Before Curing
What it looks like: Before the film reaches the powder zone, the white ink appears to spread or bleed beyond the edges of the design. After curing, the print has fuzzy edges or a white halo.
Why it happens:
- This is primarily a printer issue (ink density too high, printhead pass settings incorrect), but the shaker makes it worse if film handling speed isn't matched to the printer's ink-drying behavior
- If film moves too fast from printer to shaker, wet ink gets disturbed mechanically
How to fix it:
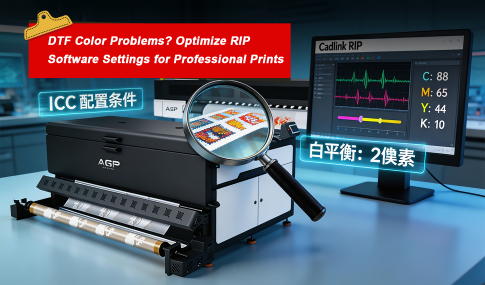
- Adjust your RIP software settings to reduce white ink density or increase white ink pass count with lower volume per pass.
- Slow down the film transfer speed between printer and shaker so the ink has a few more seconds to set before mechanical handling.
- Ensure the printer's internal drying system (if equipped) is active during printing.
- Avoid running the film through tight bends or sharp turns between printer and shaker — any mechanical stress on wet ink causes bleeding.
Problem 7: Excessive Powder Waste and High Consumable Costs
What it looks like: You're going through DTF powder significantly faster than your output volume would suggest. The shaker seems to be depositing far more powder than necessary, or the powder return system isn't working properly.
Why it happens:
- Powder dispensing rate is set too high
- The powder return/recycling system is clogged or not functioning
- Shaker drum or hopper has a buildup of clumped powder that's causing irregular feed
- Running fine powder on a machine calibrated for medium powder
How to fix it:
- Reduce the powder dispensing rate in the machine settings. You want a light, even coating over the inked areas — not a thick layer.
- Clean the powder return system. Most advanced shakers (H650 Pro, H6505, H1600) have an auto powder return system that recycles unused powder back to the hopper. Inspect and clear any clogs in the return channel.
- Remove and sieve remaining powder in the hopper periodically. Exposure to humidity can cause fine powder to clump, which disrupts even dispensing and wastes material.
- Store DTF powder in a sealed container in a cool, dry environment. Moisture is the number one enemy of hot-melt adhesive powder quality.
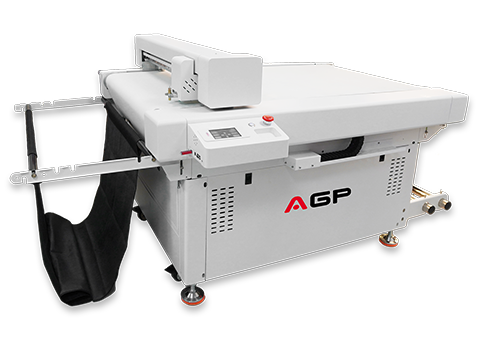
When Troubleshooting Isn't Enough: Time to Upgrade
If you're experiencing multiple problems from the list above, and your machine is more than 3–4 years old, it may be time to consider an upgrade. Older shakers often lack precision temperature control, consistent vibration systems, and effective powder return mechanisms that modern machines include as standard.
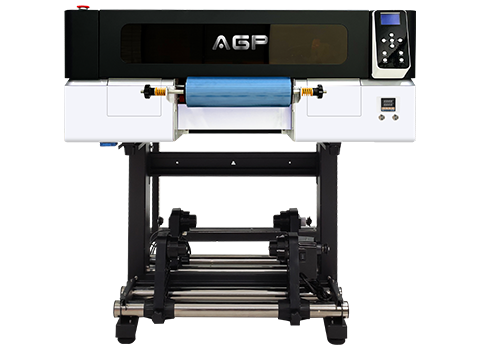
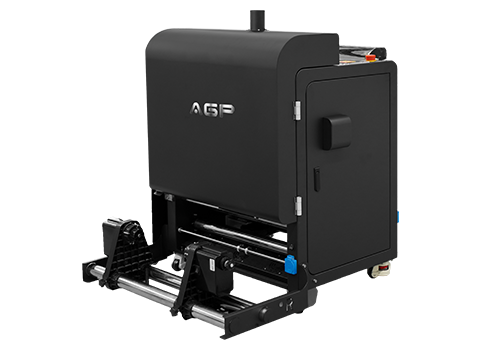
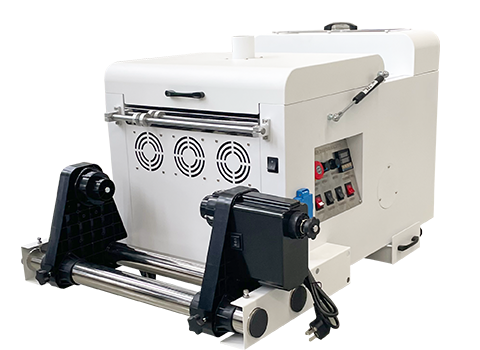
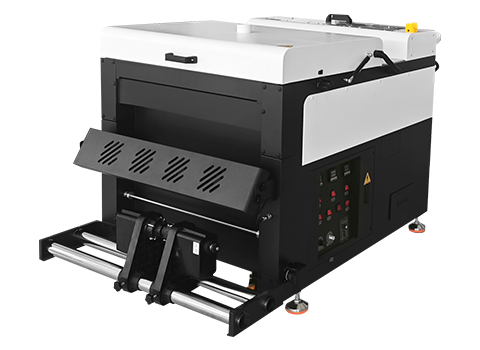
Here's how AGP's current powder shaker lineup breaks down:
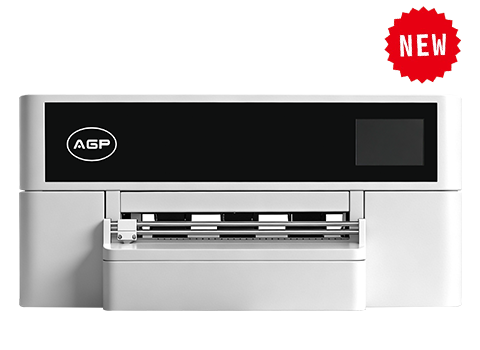
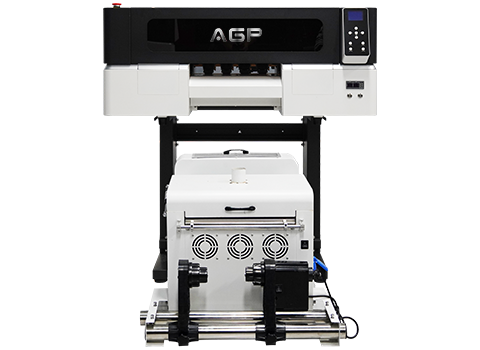
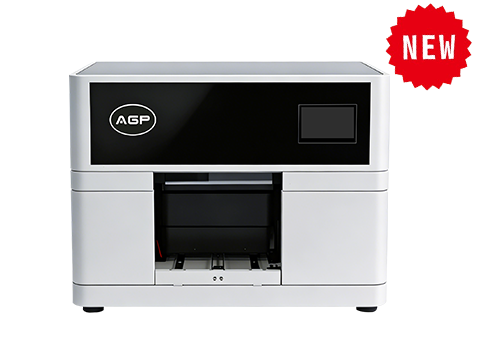
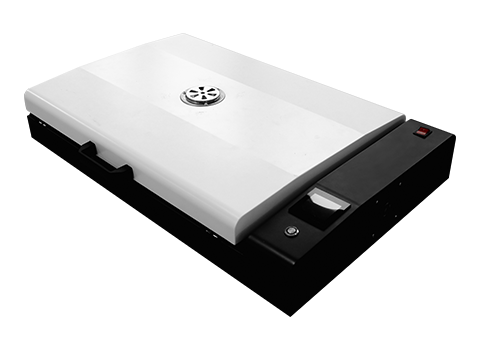
Entry Level: AGP D300
- Compact A3 format
- Perfect for: DTF-E30 users, home studios, low-volume production
- Manual powder return
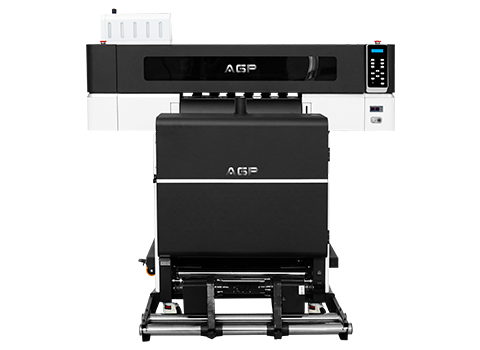
Mid-Range: AGP H650E / H650 Pro
- 650mm working width
- Multi-zone heating
- H650 Pro includes advanced powder return and PLC control
- Perfect for: Growing print shops, mid-volume production
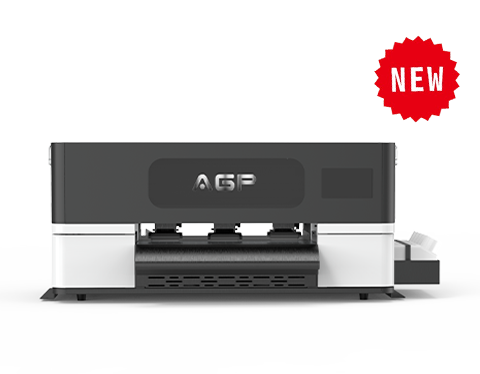
Professional: AGP H6505 / H650L
- 650mm working width, high-power heating
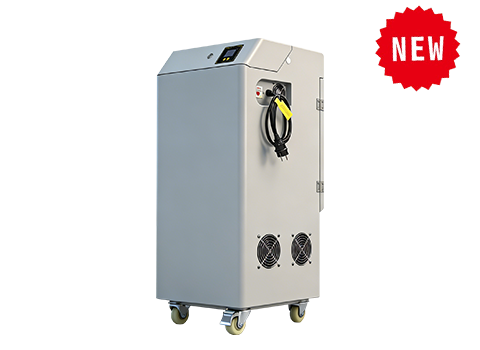
- Built-in air purifier
- Auto powder return system
- PLC multi-language control panel
- Perfect for: High-volume B2B production
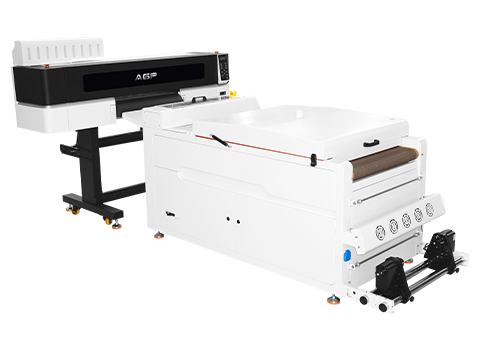
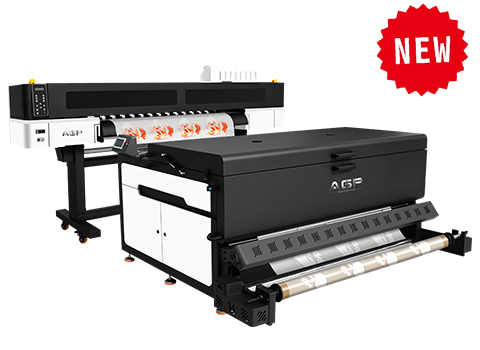
Industrial: AGP H1600
- 1600mm working width (matched to TK1600 printer)
- Front/middle/rear 3-stage heating
- Built-in air purifier
- Full automation
- Perfect for: Factory-scale DTF production
Best Practices to Prevent Shaker Problems
Prevention is always better than troubleshooting. Follow these habits to keep your shaker running reliably:
Daily:
- Clean feed rollers with IPA and lint-free cloth
- Check powder hopper level before each production run
- Confirm all temperature zones reach set point before running film
Weekly:
- Brush out accumulated powder from the interior of the machine
- Inspect brush rollers for wear and replace if visibly worn
- Check film guide alignment and roller tension
Monthly:
- Deep clean the powder return system
- Inspect heating element performance with a thermal gun
- Lubricate any moving parts per the machine manual
Need Help with Your Powder Shaker?
AGP's technical team provides free troubleshooting support for all AGP powder shaker machines — and often for competitive brands too. Send us photos or a short video of the problem and we'll diagnose it within 6–12 hours.
If you're ready to upgrade to a more reliable machine, or if you need to stock up on compatible AGP DTF hot-melt powder and PET film, contact us today.