


DTF Color Problems? Optimize RIP Software Settings for Professional Prints

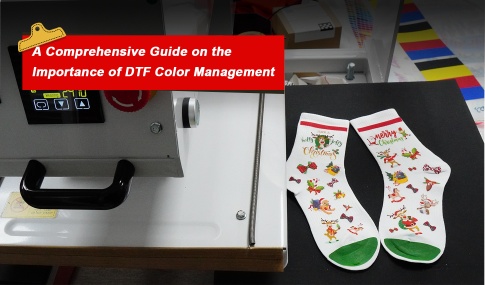
In the world of custom apparel printing, DTF printing technology has quickly become one of the most popular methods for producing vibrant and durable transfers. However, many print shop owners encounter a frustrating situation: a design looks perfect on the screen but appears dull, gray, or misaligned after printing and heat pressing.
In most cases, the issue is not the DTF printer, the DTF ink, or even the PET film. Instead, the real cause is incorrect DTF RIP software setup and poor color management.
In fact, experienced technicians estimate that over 90% of DTF printing color problems originate from improper RIP configuration. Common problems include:
- Color shift between screen and print
- White fringe around graphics
- Dull colors on dark garments
- Stiff white ink layers after pressing
This guide explains how to correctly configure DTF RIP software, optimize white ink settings, create accurate ICC color profiles, and maintain consistent DTF printing workflow calibration. By following these steps, even beginners can achieve professional-quality results.
Preparing Your Workflow Before Configuring RIP Software
Before installing or adjusting your DTF RIP software, it is important to prepare the correct environment and equipment. Consistency in your setup will greatly improve DTF color accuracy and print stability.
Software Requirements
Choose a professional DTF RIP software compatible with your printer. Popular options include:
- AcroRIP
- Cadlink Digital Factory
- Wasatch SoftRIP
- PrintFactory
These programs allow proper white ink control, color profiling, and DTF transfer optimization.
Hardware Requirements
For accurate DTF color calibration, the following tools are recommended:
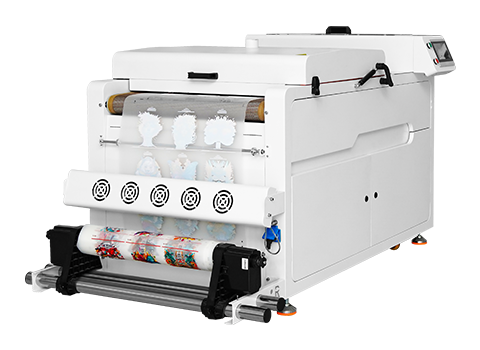
- A high-quality DTF printer (preferably Epson-based)
- Spectrophotometer such as X-Rite i1Pro or Spyder
- Monitor calibration device
Consumables
Your materials must also be consistent:
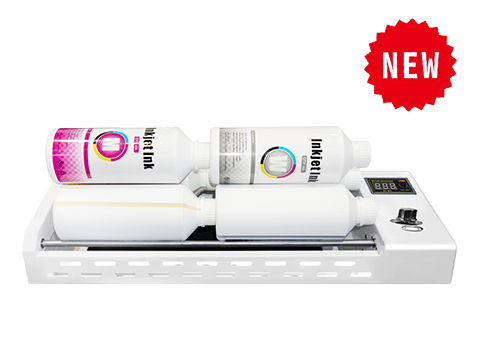
- DTF ink (CMYK + White)
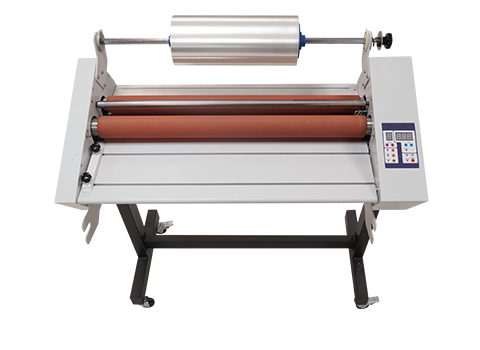
- PET transfer film
- Hot melt powder adhesive
- Standard color calibration targets
Ideal Environment
Maintain a stable printing environment:
- Temperature: 20–25°C
- Humidity: 40–60%
This helps prevent ink bleeding, uneven curing, and color inconsistency.
Installing and Connecting DTF RIP Software
Proper installation of your DTF RIP software is the foundation of the entire printing workflow.
Step 1: Install the Latest Software Version
Always install the newest version of your RIP program. Updated versions usually fix printing bugs, improve color management, and enhance compatibility with modern DTF printers.
Step 2: Add Your Printer
Inside the RIP software interface, locate the printer configuration section:
- AcroRIP → Printer Manager
- Cadlink → Device Setup
- Wasatch → Printer Configuration
Select your printer model and confirm the driver installation.
Step 3: Connect the Printer
Most technicians recommend USB connection for maximum stability, although network connection also works for larger production environments.
After connecting the printer, perform a quick test to confirm that the RIP software recognizes the printer.
Step 4: Select DTF Mode
This step is critical.
Make sure the printing mode is set to:
DTF Mode (CMYK + White)
Never use standard photo or inkjet modes because they do not support white ink channel control.
Also set the correct media type:
This ensures proper ink layering and adhesion.
Essential DTF Printer Settings for Stable Printing
Once your printer is connected, the next step is configuring fundamental DTF printer settings.
These settings form the base of a stable DTF printing workflow.
Recommended Resolution
Use:
1440 × 1440 DPI
or
1200 × 1200 DPI
Lower resolutions such as 720 DPI often cause blurry edges and poor fine detail.
Printing Direction
Enable Bi-Directional Printing.
This increases production speed while maintaining acceptable quality.
Ink Droplet Size
Recommended droplet size:
3–5 picoliters
Too large droplets cause ink bleeding, while too small droplets slow drying.
Screening Settings
Set screening to 20–28 LPI, which is ideal for textile printing.
Edge Smoothing
Enable slight smoothing (1–2 pixels) to reduce jagged outlines.
Drying Delay
Add 5–10 seconds drying delay depending on humidity.
This prevents ink spreading before powder application.
White Ink Configuration: The Core of DTF Printing
In DTF printing, white ink plays a crucial role in color vibrancy and durability. Incorrect white ink settings are the main cause of white fringes and dull prints.
White Ink Channel Setup
Inside the RIP color settings:
- Enable White Channel
- Activate White Ink Separation
- Set printing order to Underprint
Correct order:
White → CMYK
Never use overprint mode, as it destroys color intensity.
Adjusting White Choke to Prevent White Fringing
White choke slightly shrinks the white ink layer to prevent visible outlines.
Recommended values:
Small text: 1 pixel
Medium designs: 2 pixels
Large graphics: 3 pixels
This ensures clean edges without losing fine detail.
White Ink Coverage Optimization
White ink coverage determines both color brightness and print flexibility.
Suggested coverage levels:
Dark garments: 80–100%
Light garments: 30–60%
Colored fabrics: 50–70%
Portrait or gradient images: 50–80% + white fade
Too much white ink creates stiff transfers, while too little causes faded colors.
White Ink Drying Sequence
Set a 2–3 second delay between white and CMYK layers.
This prevents ink mixing and bleeding during printing.
Advanced Color Management and ICC Profile Creation
Accurate color reproduction requires proper DTF color management.
Without calibration, designs will never match screen colors.
Monitor Calibration
Your monitor must be calibrated before creating any ICC color profile.
Recommended settings:
Color temperature: 6500K
Brightness: 120 cd/m²
Also design using CMYK color mode instead of RGB.
Linearization Process
Linearization ensures correct ink density across tonal ranges.
Steps:
- Print the RIP linearization target
- Measure colors with a spectrophotometer
- Generate a custom ink curve
Each channel must be calibrated individually:
C, M, Y, K, and White
Recalibrate every 1–2 weeks for stable output.
Creating a Custom ICC Profile
An ICC profile translates digital colors into printer ink output.
Steps:
- Print IT8 color target
- Allow drying for 10–15 minutes
- Scan using a spectrophotometer
- Generate ICC file using profiling software
- Import profile into RIP software
Recommended rendering intents:
Relative Colorimetric → accurate color matching
Saturation → vibrant logos
Enable gamut mapping to handle unprintable colors.
Gray Balance and Ink Limits
Two final adjustments improve consistency.
Gray Balance
Balances C, M, Y channels to produce neutral grays.
Total Ink Limit
Optimal range:
220% – 280%
Higher values cause bleeding, while lower values reduce color strength.
Use UCR black generation to avoid muddy dark tones.
Troubleshooting Common DTF Printing Problems
Even well-configured systems may encounter occasional issues.
Problem: Dull or Gray Prints
Possible causes:
Low white ink coverage
Incorrect ICC profile
Low total ink limit
Solution:
Increase white coverage
Rebuild ICC profile
Raise ink limit to about 250%
Problem: White Fringe Around Designs
Cause:
White choke too small.
Solution:
Increase choke by 1–2 pixels.
Problem: Color Mismatch Between Screen and Print
Cause:
Uncalibrated monitor or wrong ICC profile.
Solution:
Recalibrate monitor and reapply correct profile.
Problem: Ink Bleeding on PET Film
Cause:
Excessive ink limit or high humidity.
Solution:
Reduce ink limit and improve room ventilation.
Conclusion
Achieving professional DTF printing quality depends largely on proper DTF RIP software setup, precise white ink configuration, and accurate color management.
Many printing issues — including color shifts, white edges, and dull transfers — can be solved by optimizing your RIP software settings, creating reliable ICC profiles, and maintaining a stable printing environment.
At AGP, we understand that successful DTF printing production requires more than just advanced machines. Proper calibration, software setup, and workflow optimization are equally important.
By applying the methods in this guide, print shops can significantly improve DTF transfer quality, reduce wasted materials, and maintain consistent professional results.